In this post we will explore one of the method for moving your on-premise database to the Database Cloud Service. There are multiple options for solving this data movement challenge. In this post our focus will be to use SQL*Developer and command line tools to clone and move a pluggable database from our on-premise database to our cloud database. Pluggable databases is a feature of Oracle database 12c. We are using version 12.1.0.2 of Oracle database 12c.
There can be other simpler methods also if you have infrastructure/network in place to connect from your cloud databse to your on-premise database directly, like:
- Using OEM, you can do this work very easily in a few click-and-watch steps.
- Using DBLINK. This is the also one of the easiest way
- Using SQLDVELOPER and choosing “Clone PDB to oracle Cloud” option. All required ports b/w on-premise and Oracle Cloud must be open and network/firewall related requirements must be met to use this option.
For this example we are using SQL Developer to clone the PDB but will not be using direct “Clone PDB to Oracle Cloud” option. We will be making a clone copy of the on-premise database, unplug it, copy over the data files to Oracle Cloud and plug it there.
Source Database (on premise)
Container database : CDB1
Pluggable Database: PDBORCL
Target Database (Oracle Cloud)
Container database: CLOUDDB
Goal:
Clone the pluggable database PDBORCL from the On-premise container database CDB1 and plug this cloned PDB
into Oracle Cloud container database CLOUDDB
Below are the high level steps that we will follow:
1. Explore on-premise database using SQL Developer DBA Navigator
2. Convert the on-premise PDB to read-only mode
3. Clone the on-premise PDB
4. Unplug the newly cloned on-premise PDB
5. Convert back the on-premise PDB to read-write mode
6. Copy the data files of newly cloned on-premise PDB to the Oracle Cloud
7. Plug the cloned on-premise database to Oracle Cloud Database
8. Verify the cloned PDB on Oracle Cloud
1. Explore on-premise database using SQL Developer DBA Navigator
Open SQL DEVELOPER on your system and add a new connection to your on-premise database using sys user.
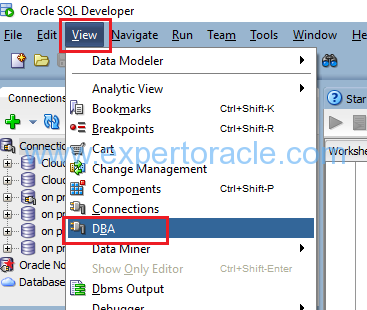
Select the View -> DBA menu option from the top.
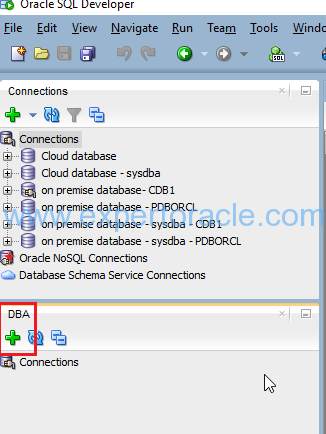
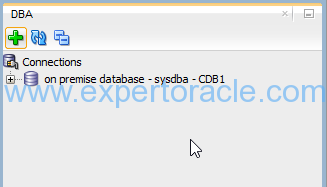
On the DBA tab, click the green plus icon to create a new connection.
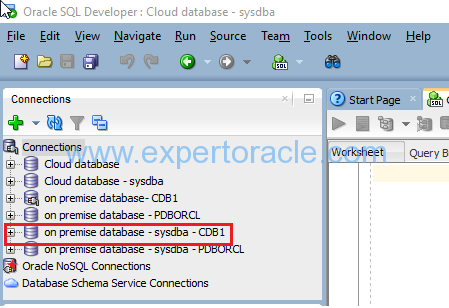
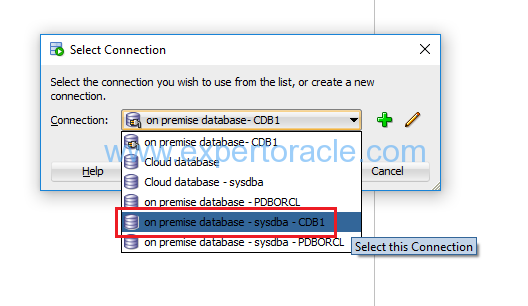
Select the sys – CDB1 connection and click OK.
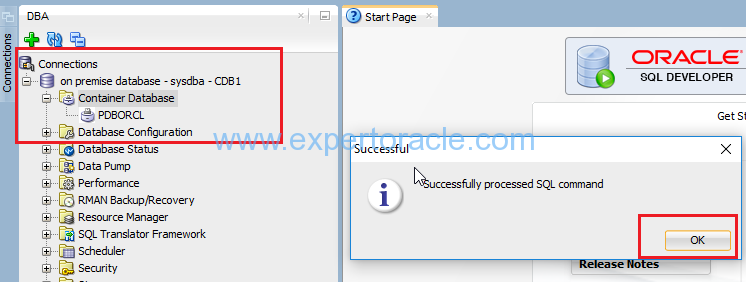
The new connection will show up in the DBA view
Expand the sys – CDB1 connect, and then expand the Container Database tree item. Click on the PDBORCL pluggable database (which we will clone in coming steps) to show the details for this pluggable database.
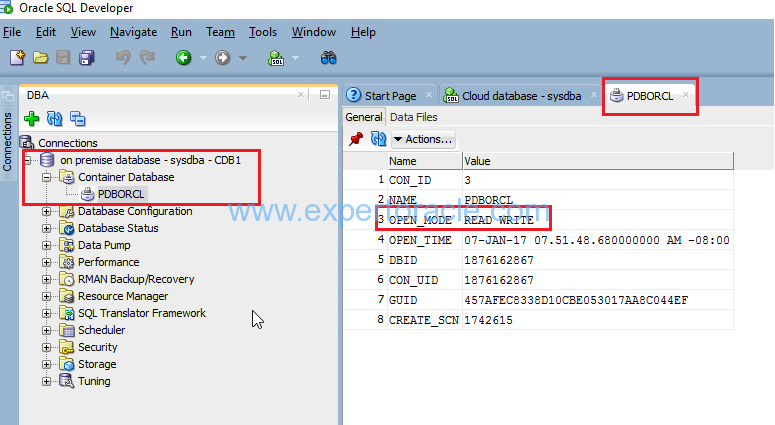
Currently our on-premise PDB is in READ WRITE Mode.
2. Convert the on-premise PDB to read-only mode
Before we can clone our pluggable database PDBORCL it must be closed and re- opened in Read Only mode.
You have the option of converting the on-premise PDB to read only mode from SQLPLUS or by using SQL DEVELOPER GUI.
Here we will do it through SQL DEVELOPER.
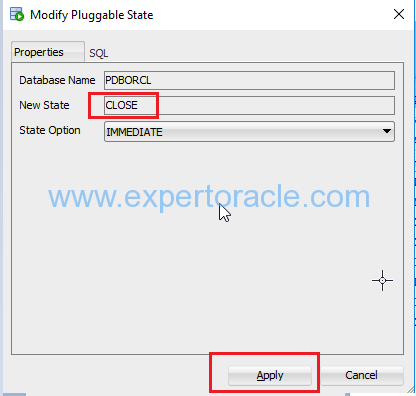
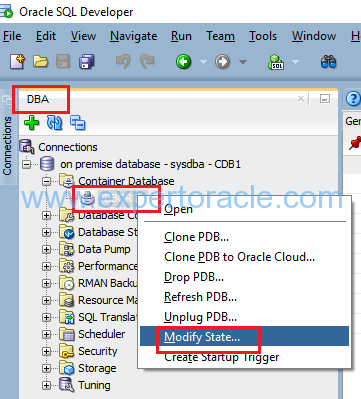
Right-click on PDBORCL and select the “Modify State” menu option.

On the Modify Pluggable State dialog CLOSE the PDBORCL by simply clicking Apply.
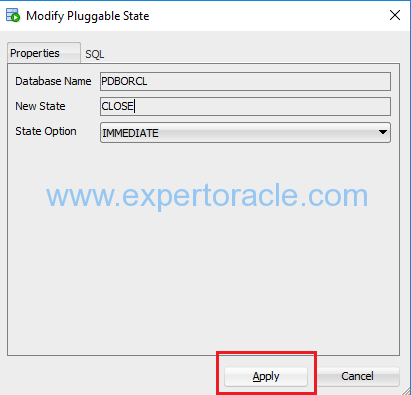
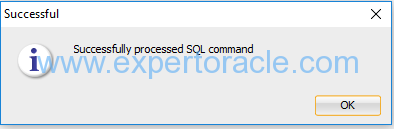
Click OK

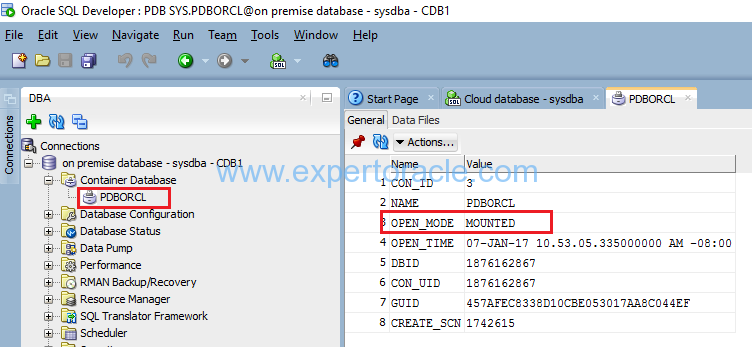
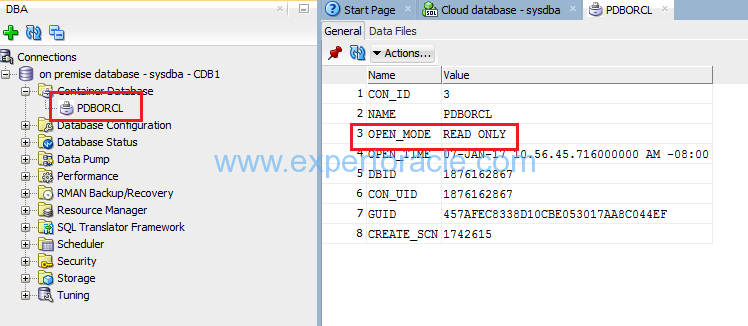
Now verify the current status of the PDBORCL which should show MOUNTED
Now repeat the “Modify State” operation and re-open the PDBORCL pluggable database in READ ONLY mode.
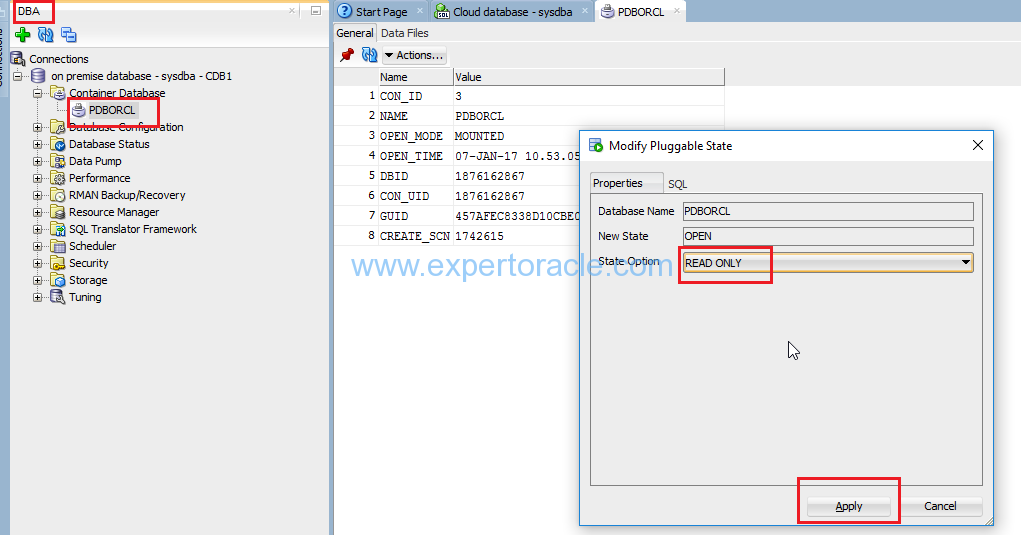
Click OK
Verify
3. Clone the on-premise PDB
In this step we will be making a clone of our on-premise PDB PDBORCL which we have put in READ ONLY mode in next step.
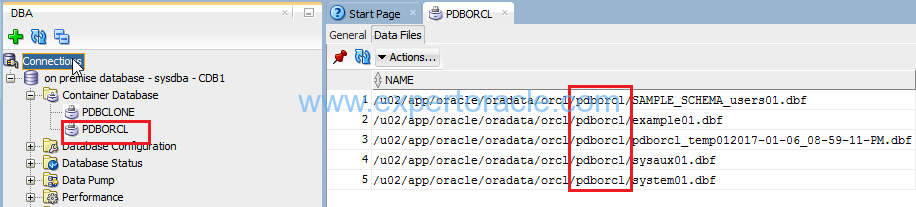
In the DBA Navigator panel, verify first the data files path of the PDBORCL database as this will be used later on for the db_filename_convert
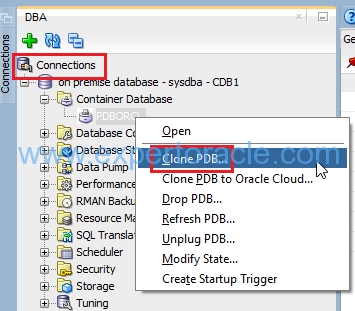
Now right click on the PDBORCL pluggable database and select the Clone PDB menu option.
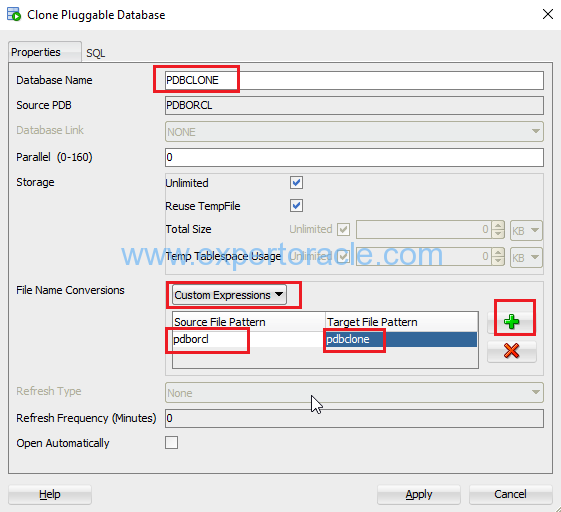
In the clone pluggable database properties window, give the database name that we want to keep for the cloned database.
Then select the Custom Expressions, click the green plus icon and enter the source directory portion we want to change, followed by the target for the new files. This is similar to the db_file_name_convert parameter that we use in normal database cloning.
Source File Pattern: pdborcl
Target File Pattern: pdbclone
We choose this dbfile name conversion because our database file name has this pattern as shown earlier in this step.
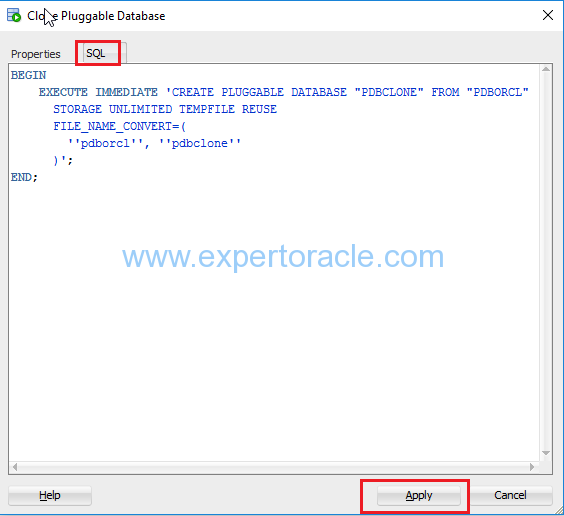
You can review the SQL statement by clicking on the SQL tab – note the FILE_NAME_CONVERT clause mapping the existing files to new files in a new directory. Click the Apply button.
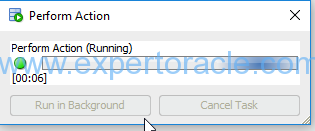
You will see “Perform Action” button next
and finally the success message

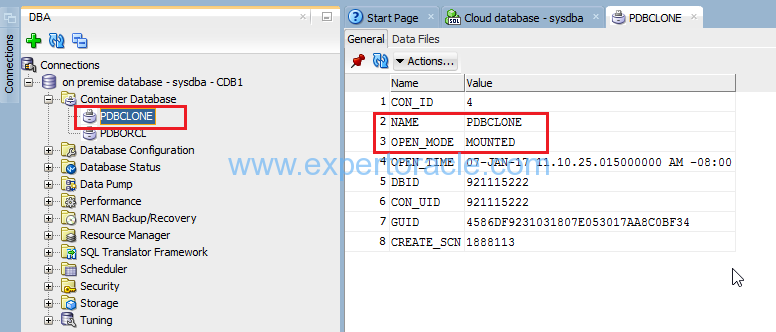
Verify by clicking on the PDBCLONE database in the DBA navigator to see the status of the database. The cloned database will show an OPEN_MODE of MOUNTED indicating the database is plugged-in but is not open for access.
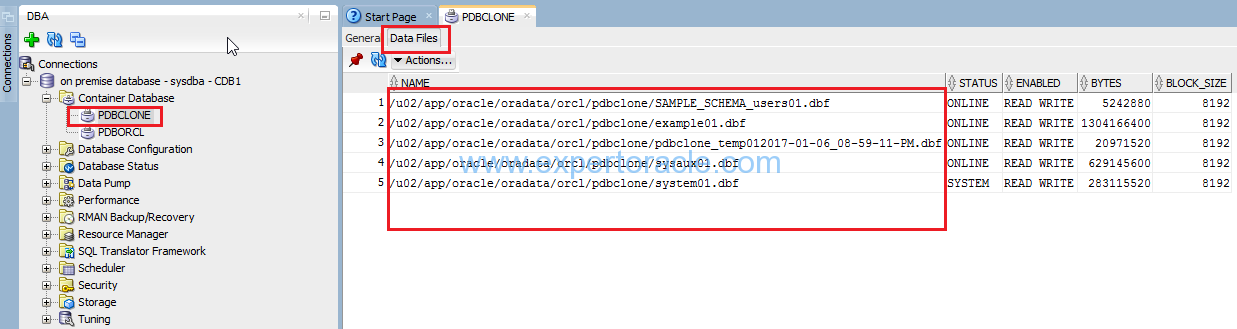
You can also verify the data file location of the newly cloned on-premise PDBCLONE
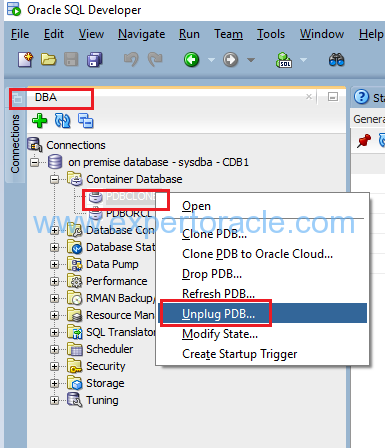
4. Unplug the newly cloned on-premise PDB PDBCLONE
Start the unplug process by right clicking on the PDBCLONE database and selecting “Unplug PDB” from the menu.
Click the “Select” button to specify the name of the pluggable database definition file.

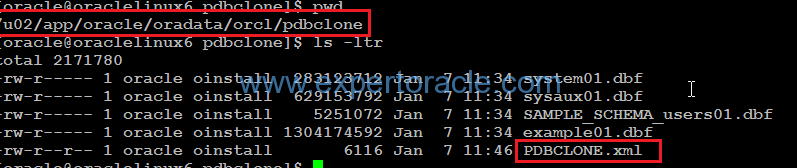
Navigate to the same directory where the database files are stored and enter PDBCLONE.xml as the File Name. Click Save to accept this filename.
Click the Apply button to unplug the database
Since in our case we have insalled SQL DEVELOPER on our host windows and our on-premise databases PDBCLONE are running under the virtual box we saved the XML file in our local system first and then copied it over to the dbf directories in the virutal box
Notice how PDBCLONE disappears from the list of container databases. Click OK to dismiss the dialog.
5. Convert back the on-premise PDB to read-write mode
We had put the PDBORCL on-premise PDB database in read only mode to be able to clone it. Now we will again put it back in read write mode since the on-premise cloning of this PDB has been done.
Click on PDBORCL and then on “Modify State”

Select CLOSE-IMMEDIATE and click “Apply”
Click OK on Success pop-up
Click again “Modify State”
Select OPEN-READ WRITE and click “Apply”
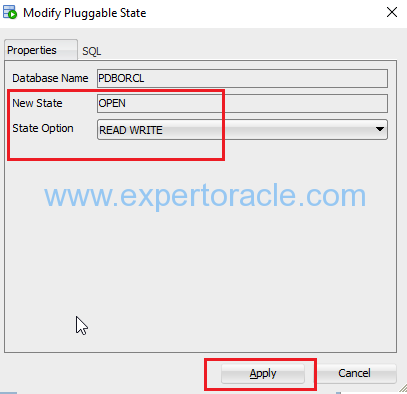
Click OK

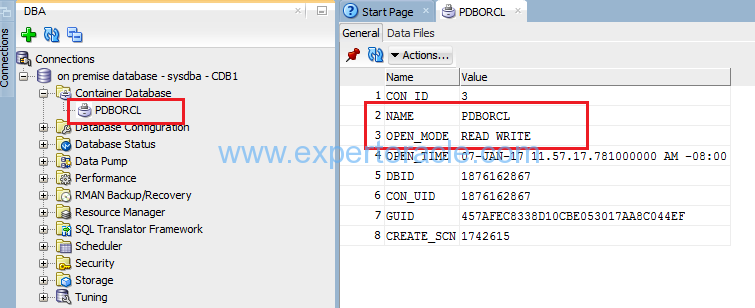
Verify the PDBORCL is in READ WRITE mode
6. Copy the data files of new cloned on-premise PDB to the Oracle Cloud
In this step we will be physically copying the on-premise cloned PDB PDBCLONE to the Oracle Cloud server where we want to run our cloned database
STEPS ON THE ON-PREMISE DATABASE:
Connect to the on premise database server and switch to clone directory containing the datafiles and XML
$ cd /u02/app/oracle/oradata/orcl/pdbclone
Create a zipped tar with no directory specifications.
$ tar -cvzf /media/sf_shared/clone.tar.gz *
Here we copied the compressed tar file to the sf_shared folder which is a share folder between our windows host and on-premise database running on virtual box.
STEPS ON THE CLOUD DATABASE
Create a directory on the Oracle Cloud machine where we want to run the cloned database
$ mkdir -p /u02/app/oracle/oradata/orcl/pdbclone
On the cloud machine we were already using /u02 mount point so ot was simple for us to create the directory structure
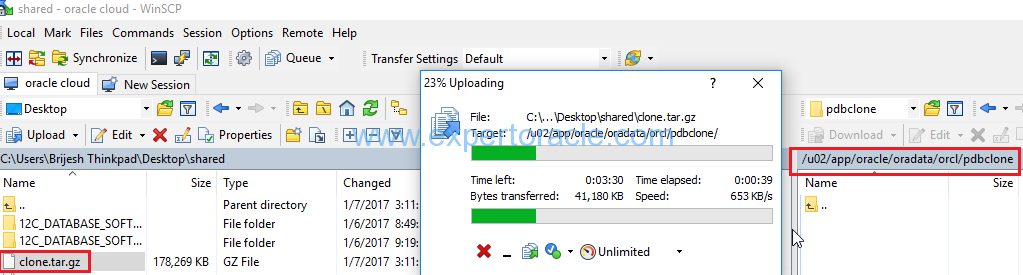
Copy the clone files using WINSCP
In this step upload the compressed tar file to the oracle cloud server using winscp into directory /u02/app/oracle/oradata/orcl/pdbclone
Unzip the clone files from the new directory.
[oracle@clouddb pdbclone]$ cd /u02/app/oracle/oradata/orcl/pdbclone
[oracle@clouddb pdbclone]$ tar xvfz clone.tar.gz
example01.dbf
PDBCLONE.xml
SAMPLE_SCHEMA_users01.dbf
sysaux01.dbf
system01.dbf
[oracle@clouddb pdbclone]$ ls -tlr
total 2347924
-rw-r----- 1 oracle oinstall 283123712 Jan 7 14:34 system01.dbf
-rw-r----- 1 oracle oinstall 629153792 Jan 7 14:34 sysaux01.dbf
-rw-r----- 1 oracle oinstall 5251072 Jan 7 14:34 SAMPLE_SCHEMA_users01.dbf
-rw-r----- 1 oracle oinstall 1304174592 Jan 7 14:34 example01.dbf
-rw-r--r-- 1 oracle oinstall 6116 Jan 7 14:46 PDBCLONE.xml
-rw-r--r-- 1 oracle oinstall 182547285 Jan 7 15:11 clone.tar.gz
7. Plug the cloned on-premise database to Oracle Cloud Database
We will be plugging in the cloned database inro Oracle Database Cloud database service using EM Express Console for the Cloud database
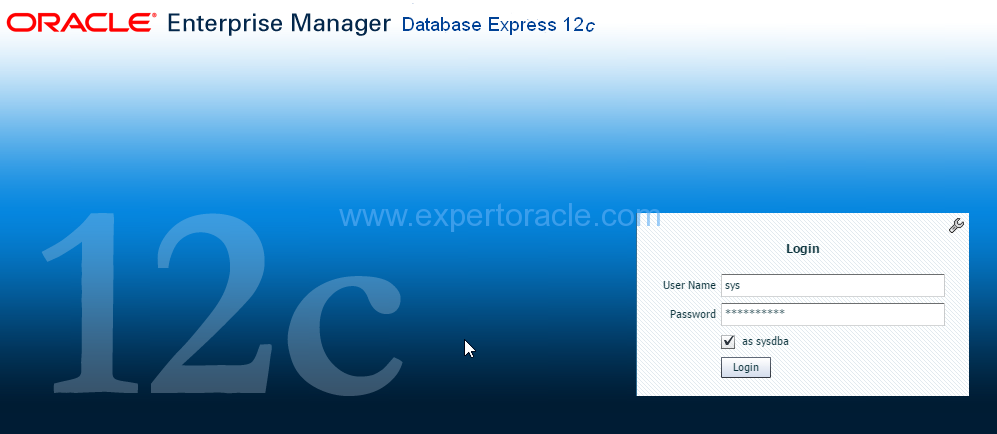
To learn how to access EM Express Console running on Oracle Database Cloud, check this previous post
Login with sys user as sysdba.
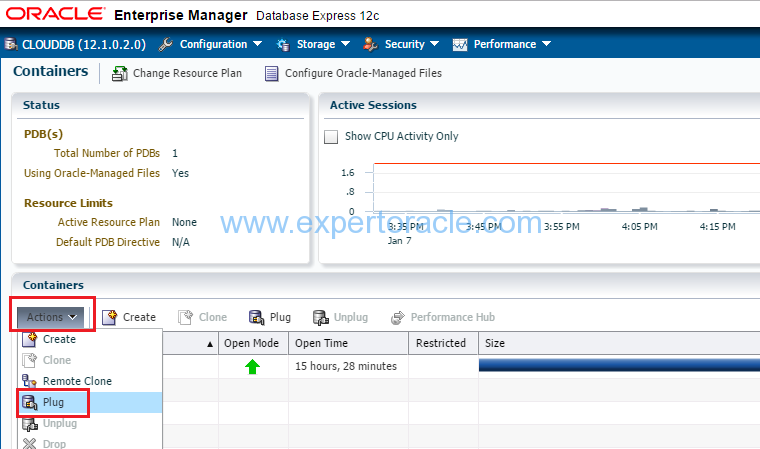
From the Database Home page, click the CDB(1 PDBs) link.

Open the Actions list and select the Plug command
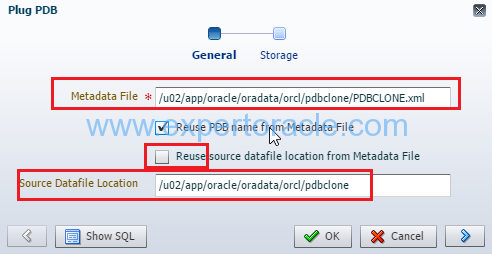
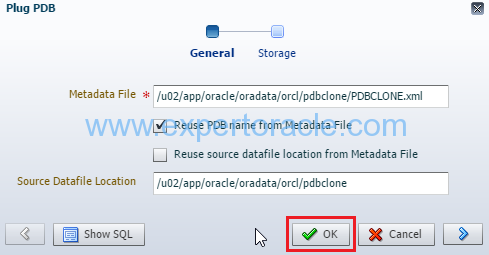
Enter the following on the Plug PDB dialog box
Metadata File: /u02/app/oracle/oradata/orcl/pdbclone/PDBCLONE.xml
Uncheck the Resuse source datafile location from Metadata File check box and provide the data file location
Source Datafile Location: /u02/app/oracle/oradata/orcl/pdbclone
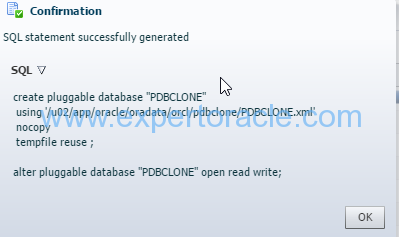
Then click the Show SQL button to review the DDL commands:
In our case we don’t have to convert the file name as directory structire is same in on-premise cloned database and the Oracle Cloud database server.
That is why “source_file_name_convert” clause remapping the on-premise file locations to the cloud database locations is not showing in the SQL.
Click OK
Click OK again.
The processing window will appear for a short time.

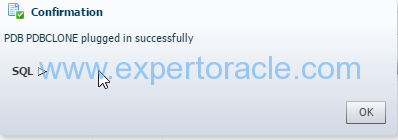
Click OK on confirmation window
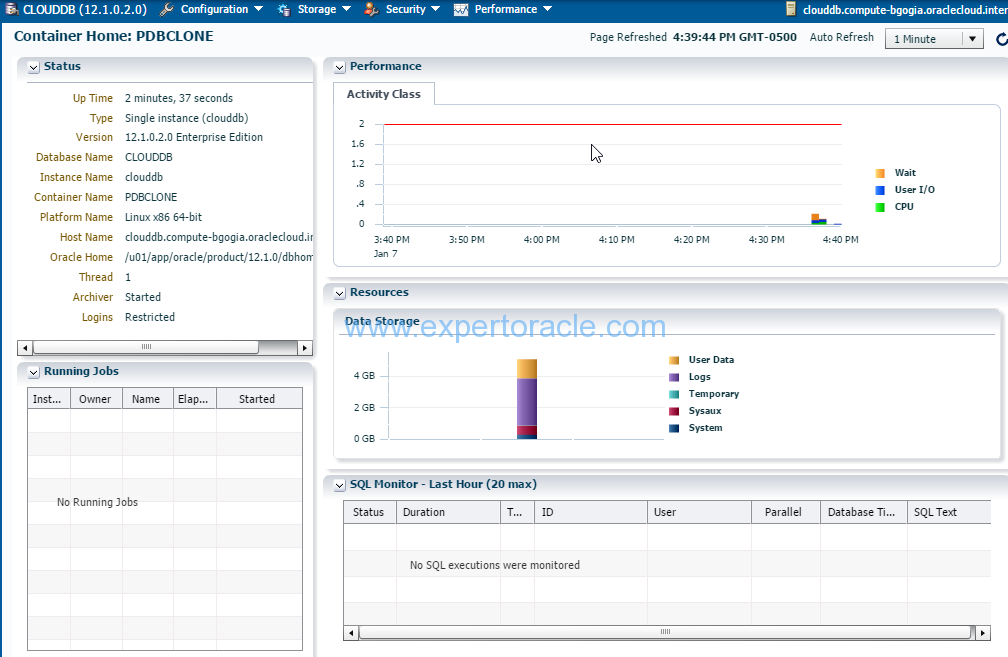
Notice the database is now in the list of Containers.Click on the newly clone database.
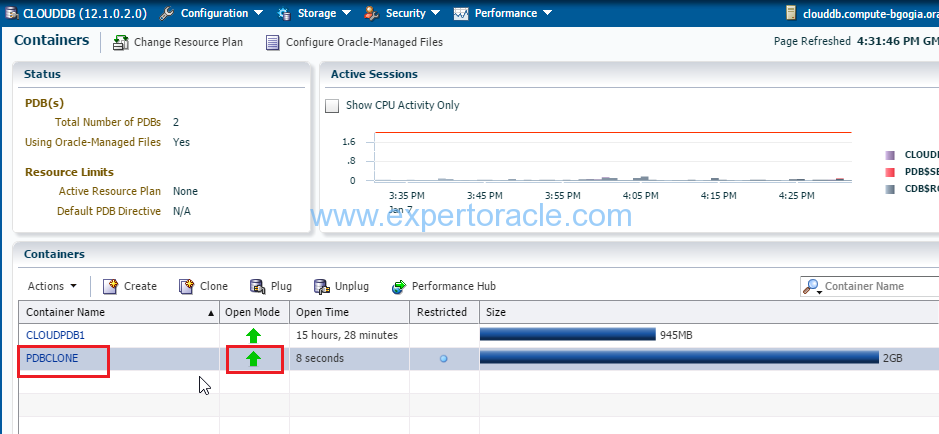
Review the database information.
8. Verify the cloned PDB on Oracle Cloud
We will add the newly cloned Oracle Cloud PDB PDBCLONE to the SQL DEVELOPER and verify if the cloning went good
Click Test to confirm the information was entered correctly.
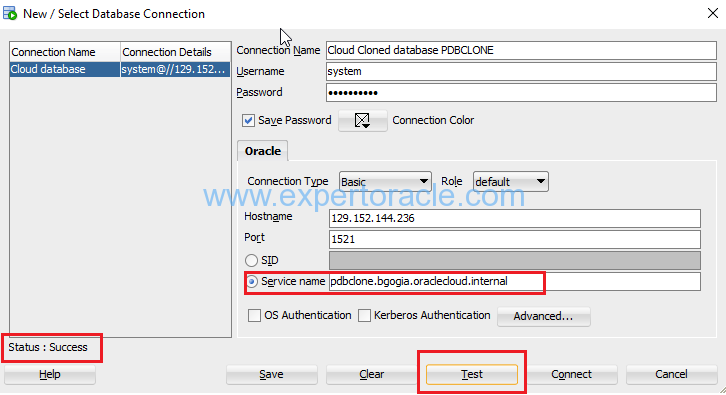
Click Connect to save the connection information and open a new SQL Worksheet.
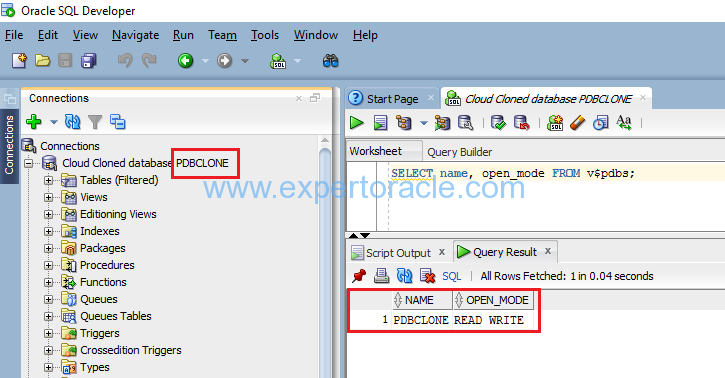
This completes our exercise of moving Oracle 12C on-premise PDB to Oracle Cloud Database.


- Oracle Multitenant DB 4 : Parameters/SGA/PGA management in CDB-PDB - July 18, 2021
- Oracle Multitenant DB 3 : Data Dictionary Architecture in CDB-PDB - March 20, 2021
- Oracle Multitenant DB 2 : Benefits of the Multitenant Architecture - March 19, 2021